Introduction
In this post I’ll talk about a small experience I had with a Lego set that I acquired on my trip to Legoland in Billund, Denmark (yes, the original Legoland 😃). I’ll not talk about the trip itself, which was the best of my life. It was so because I had the opportunity to bring my daughter and my niece to see their happy faces when they entered in the park. Rather, I’ll talk about a small project that was motivated by a special LEGO set I bought on LEGO House.
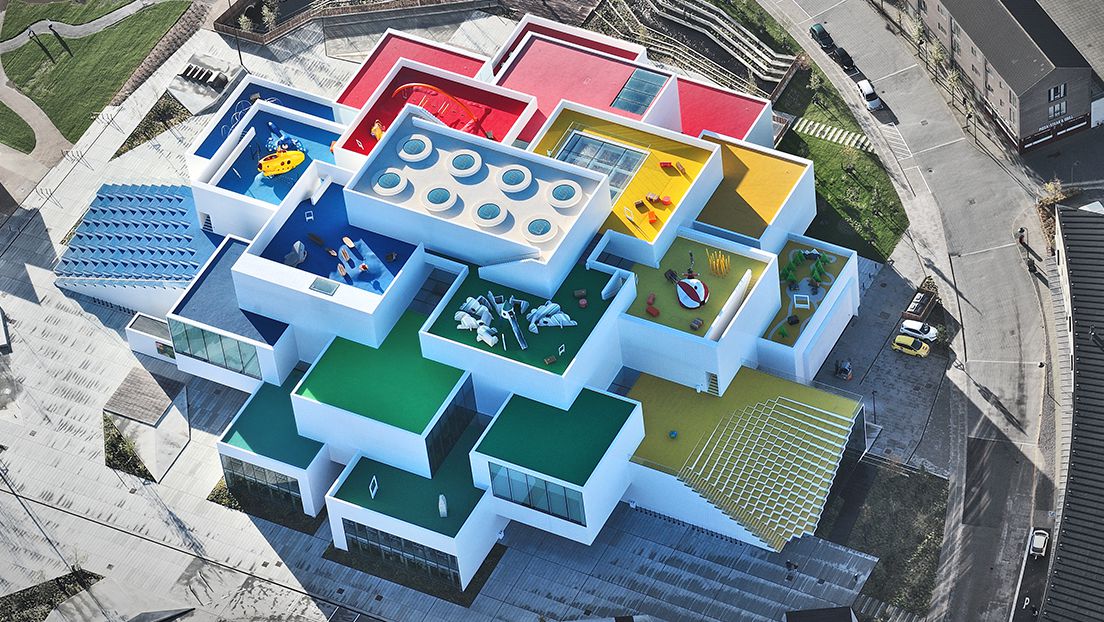
Lego House (https://www.legohouse.com/)
The Lego House is amazing. It is located close to Legoland, also in Billund. I won’t talk about it because I would have to write a book 😄. The point is that, there is a Lego Store inside it, and they sell a very special LEGO set: the set #40179, or “Personalised Mosaic Picture”. It is a set that contains only a large base plate with 48×48 spaces (currently the largest in a set) and about 4500 1×1 plate divided in 5 different colours (yellow, white, black and two shades of grey).
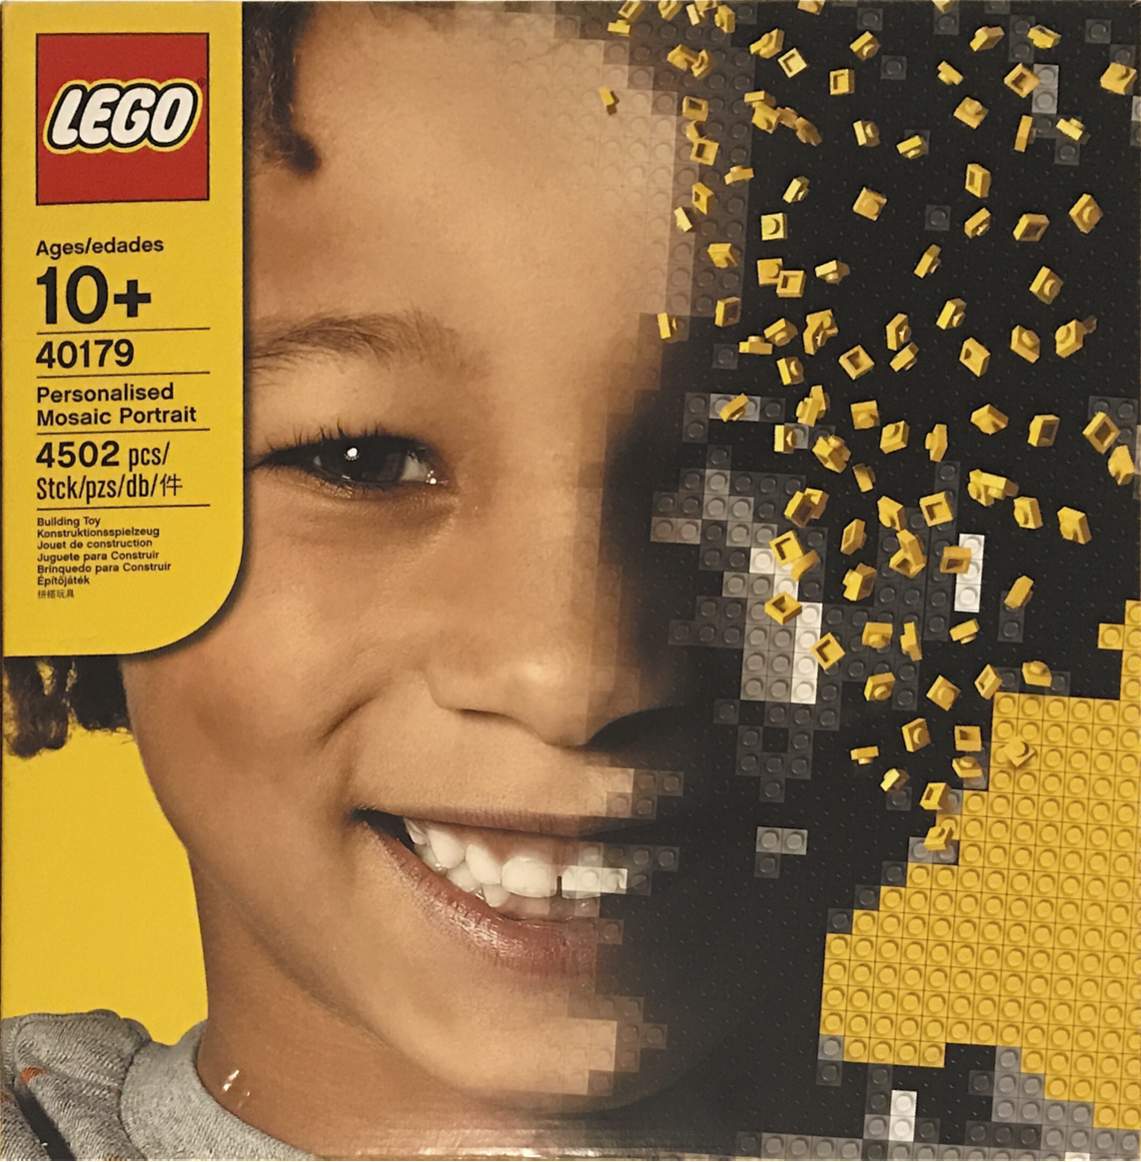
Lego Custom Mosaic set
The goal of the set is to allow the owner to “draw” a mosaic picture with the 1×1 plates on the big base plate. What makes this set special is the instructions. The instructions are a big 1:1 picture the size of the plate itself which indicates the position and colour of all 1×1 little plates. You may ask: What picture comes in the set? yours!
The Lego Set
As I mentioned, it is your picture that comes with the instructions! When you buy the set in the store, they guide you to a small photo booth where they take your picture to make the instructions. The whole process is made for children and it is a piece of work 😆. First, they take some pictures of your face and show to you in a screen inside the booth. There, you see how the mosaic is going to look like when you assemble it. When you are satisfied with the mosaic, you go out of the booth and wait your custom set. The set is delivered automatically via a small hole beside the cabin. While you wait, you watch an animation of a couple of LEGO mini figures dressed as workers and producing your set. When done, the booth spits out your big set with your picture turned into The LEGO instructions poster.
Doing that for my 3 year old
I could not leave The LEGO House whiteout buying one of those. Of course I would not put my picture on it. Instead, I wanted to make one for my little daughter. And that was when the problem arose. The lady in the store told me that it would be very very difficult to get a good picture for a 3 year old. First, she is not tall enough. Then, she would not be quiet enough and her little head would not be close enough to the camera to make a good mosaic. All that is true. Remember that the picture should be perfect because the mosaic would be a representation of her face using only 4 shades of grey (and possibly a yellow background) in a 48×48 pixel matrix.
But wait… What if I did the mosaic myself? This set is practically only “software”. Regardless of the picture, the set have 4500 1×1 plates and a giant 48×48 base and that’s it! The rest is image processing! I talked to the lady in the store and told her that I would take the risk of not having a good picture. She told me about all the difficulty, bla bla bla, but I insisted: “Trust me, I’m an engineer” (Just kidding, I told her I just want the 4500 1×1 plates 😅). She finally agreed. We even tried to get a “reasonable” mosaic, but it is really very very difficult. The lady was very nice and was very patient. We tried like 6 or 8 times but the best we could do was this:
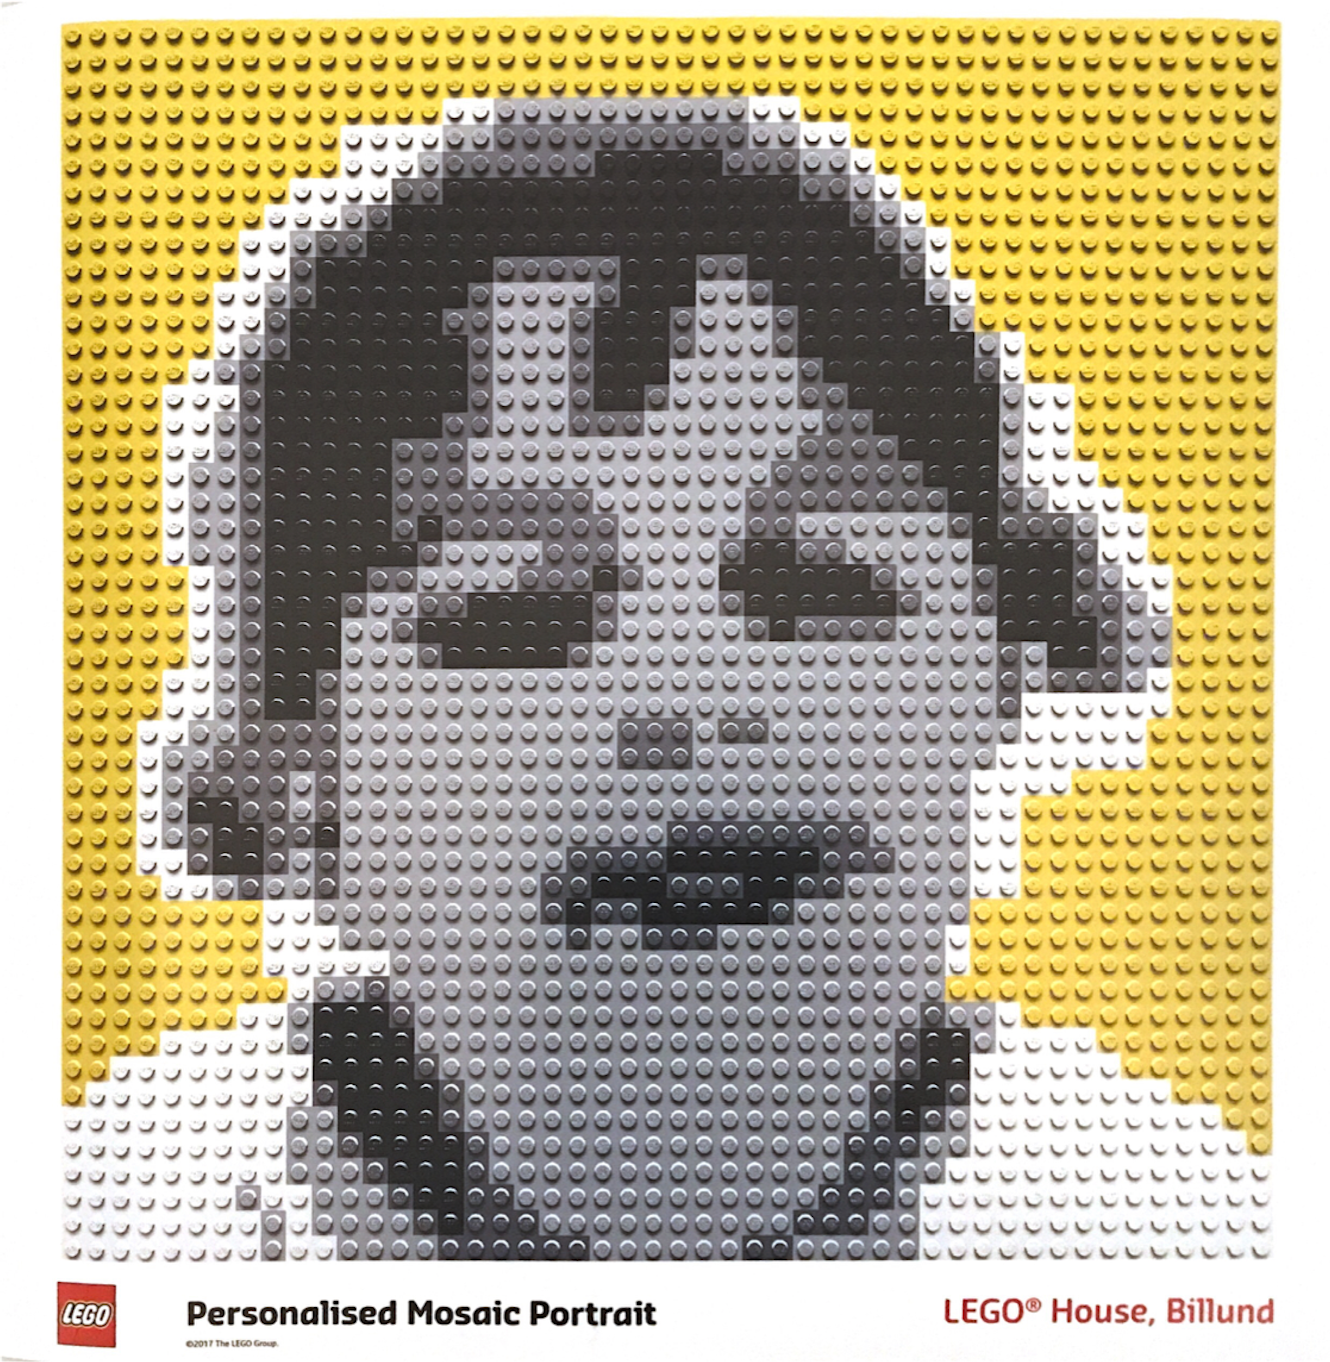
Original Lego mosaic picture
I didn’t like the mosaic at all (too flat shapes) but remember that I had other plans 😇. Besides, my little one does not like pictures and it is rare to get a picture with her smiling on it. Anyways, with the set bought, I was ready to do my small weekend project with it as soon as I was back.
Doing a better mosaic
The first thing I had to do was to find a better picture to be turned into the mosaic. So I started to dig for a picture that I like (at least one with her smiling. 😅). It didn’t even needed to be a full picture. I could (and still can 😊) take a picture and use it. The picture would be reduced to 48×48 pixels anyway, so practically any picture where she appear, could be a potential mosaic candidate.

Crop of the picture used to make the first mosaic
With the picture chosen, it was time to do the magic. I’ll won’t detail exactly the steps I did to process the image because this is very dependent on the crop that you do and things like illumination, tones, etc. Depending on the picture, it would require a very specific and different set of steps. The result of the photoshop processing was the following
|
|
|
Result of the “mosaicfication” of the picture. Left: Greyscale picture 48×48. Right: Mosaic picture 48×48 with only 4 levels of grey (and a background)
Python code
Now that had the image is very small (48×48 pixels) with only 5 different “colours”. That is what makes this step not trivial. When the processing done, in theory I could print it on a large paper and start building the set. But I figure that I could easily mistake a shade of grey with another or get lost in the middle of the assembly. So, I decided to ask for computer help. I did a small python program that loads the image and aid me in the assembly process.
The script do two main things: First, it translates the “colours” of the image into something more readable like letters (A to E according to the shade of grey in the pixel). Then, it creates an “assembly” sequence that will help me to stick the small plates in the right place on the big base plate. This second step is what makes the assembly more “comfortable”. The idea was to show the image in the screen and highlight each line one at a time. In the highlight, instead of show the letter in the place where I should put each plate, it would show each “block” of the same colour, showing the amount of plates needed and the corresponding letter for each block. Then, it was a matter of put all this in a loop for each line and wait for a keypress at each step to continue the assembly.
Gif of the steps showed by the program. In each highlighted line, the blocks of pieces with the same colour have the indication of the letter and the amount of plates needed
The whole python code is very very simple.
#!/usr/bin/env python3
# -*- coding: utf-8 -*-
"""
Created on Wed Aug  8 18:16:32 2018

@author: allanmartins
"""
from matplotlib import pyplot as plt
import numpy as np

img = np.uint8(255*np.round(255*plt.imread('bebel48x48x5.png')))

values = np.unique(img)

for (i, v) in zip(range(len(values)), values):
    img[img==v] = 5-i


fig = plt.figure(figsize=(20, 20))

line = -0.5
for I in img:
    plt.cla()

    arrayTmp = np.concatenate((np.array([1.0],dtype=np.float32),np.abs(np.diff(I))))

    arrayTmp = np.greater_equal(arrayTmp, 0.5)

    idx = [i for (i, v) in zip(range(len(arrayTmp)),list(arrayTmp)) if v>0]
    levels = I[idx]
    idx.append(48)

#    fig = plt.figure(figsize=(15, 15))
    plt.set_cmap('gray')
    plt.imshow(img, vmin=1, vmax=6)

    for i in range(len(idx)-1):
        lineColor = [1, 0.2, 0.2]
        textColor = [1, 1, 1] if not levels[i] == 5 else [0, 0, 0]
        plt.plot([idx[i]-0.5, idx[i+1]-0.5, idx[i+1]-0.5, idx[i]-0.5, idx[i]-0.5], [line, line, line+1, line+1, line], color=lineColor, linewidth=4)
        plt.text(-0.75+(idx[i]+idx[i+1])/2.0, line+0.75, '%c : %d'%(levels[i]+64, idx[i+1]-idx[i]), color=textColor, size=15)


    plt.show(block=False)
    fig.canvas.draw()
    fig.canvas.flush_events()


    sQtd = ''
    sLevels = ''
    for d,l in zip(np.diff(idx), levels):
        sQtd += '%4d'%d
        sLevels += '%4c'%(l+64)

    print(sQtd + 'n' + sLevels)
    print('n')
    input()

    line += 1
The result
As result, I have the infra-structure now to make any mosaic with any picture. I just have to be patient to disasbemble the old one and follow the script to assemble a new one. The final result for the first image is here (and a time lapse of the assembly). I don’t remember exactly the time it took to finish, but by the number of frames in the time lapse I estimate about 2h for the whole process.
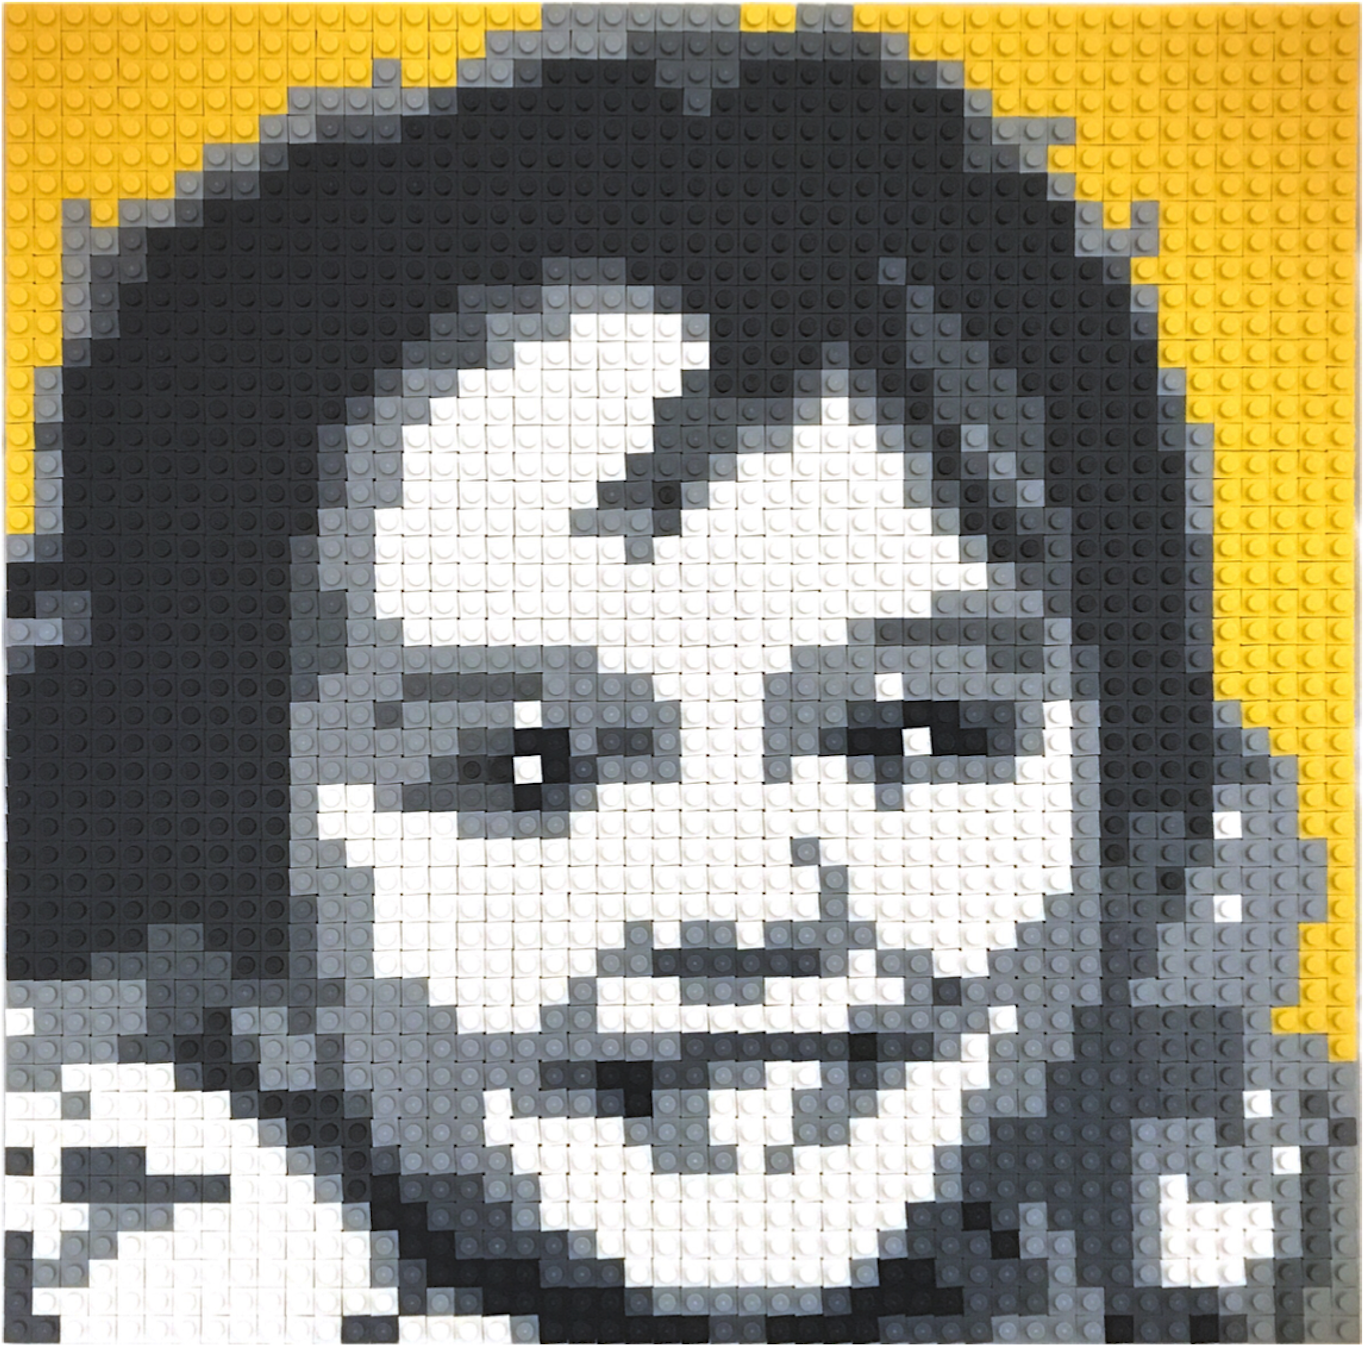
Custom Lego mosaic picture
Time lapse of the assembly process
Conclusion
Despite the title of this post, LEGO is making an awesome work with the set. If you google for images of mosaics you will see that, in general, if you follow the guidelines, your LEGO mosaic will be cool! it is very difficult for a consumer product to be perfect with this kind of technology (image processing, colour quantisation and etc). So, it is good to know some coding in cases like this, which allow us to take advantage of the “hardware” of the set (4500 1×1 plates) and do our own custom “custom LEGO Mosaic set” 😀.
I hope you liked this post! See you in the next one!